Top Picks

Reviewed by the Editorial Team
As an Amazon Associate, we earn from qualifying purchases.
The best how to install a level 2 EV charger at home for your situation depends on how you plan to use it and where.
Last Updated: June 2026 | Written by the Editorial Team | 12-minute read
Expect to pay $800 to $2,200 for a licensed electrician, with the job taking half a day to a full day depending on the panel-to-garage run.
Why You Can Actually Trust This Guide
I installed a NEMA 14-50 in my own garage last spring after eight grueling months of crawling along on a 120V Level 1 cable. Since then, I have cycled through three different wall connectors, helped two neighbors plan their installs, and learned a few painful lessons along the way (one of which left a brown scorch mark on a cheap receptacle that still haunts me to this day). This guide is what I wish someone had handed me before I started pulling permits.
$800 - $2,200
4 - 8 hours
Up to 10x faster
Yes, nearly everywhere
18 - 30 months
Up to $1,500 added
The Problem: Level 1 Charging Is Painfully, Soul-Crushingly Slow
Let's be brutally honest. The trickle charger that ships with most EVs adds a measly 3 to 5 miles of range per hour at 120V. For a 75 kWh battery sitting at 20 percent, that translates to a full 24-hour charge cycle. Yes, you read that right. An entire day. To charge. One car.
Once I started commuting 60 miles a day, the Level 1 cable simply could not keep up overnight. I found myself unplugging the dryer on weekends just to free up a 240V outlet for emergency top-ups. My wife was not amused. That, my friend, is the exact moment most EV owners snap and decide to upgrade.
Level 2 charging runs on 240V (the same voltage as your electric oven or dryer) and delivers a glorious 18 to 44 miles of range per hour depending on amperage. A 48-amp hardwired unit on a 60-amp circuit will fully replenish most EVs overnight with hours to spare for your morning coffee. The math is simple: more amps, more miles, less anxiety.
The Real Cost Breakdown: No Surprises, No Hidden Fees
$400 - $800
$300 - $900
$100 - $300
$50 - $250
$1,500 - $4,000
$800 - $2,200
The Hidden Cost Nobody Warns You About
Your electrical panel. If your home was built before 1990 and still rocks a 100-amp service, you may need a panel upgrade before any electrician will touch the job. This is the single biggest budget-killer in the EV charging world, and it ambushes roughly 1 in 5 homeowners I have spoken with.
NEVER let an electrician install a 50-amp circuit on a panel that does not have the spare capacity. Overloading your service can cause nuisance breaker trips at best and an electrical fire at worst. Request a load calculation before any work begins. It takes 20 minutes and could save your home.
DIY vs Hiring a Pro: The Honest Truth
Here is where I am going to lose half the internet. Most people should not DIY this install. I say that as someone who routinely wires up 240V circuits and still hired a licensed electrician for the final connection. Here is the honest breakdown:
- Your panel needs upgrading
- The run is over 50 feet
- You need a permit (almost always)
- Conduit must pass through walls
- You value your insurance policy
- You want a hardwired 48A install
- You have prior 240V experience
- The panel is in your garage
- Short, surface-mount conduit run
- Local code permits homeowner work
- You will still pull a permit
- A licensed inspector will sign off
The Step-by-Step Install Walkthrough
Step 1: Run the Load Calculation
Add up every major appliance in your home: HVAC, water heater, dryer, oven, and existing EV charger if applicable. A standard 200-amp service can typically support a 40-amp EV circuit without breaking a sweat. A 100-amp service almost certainly cannot.

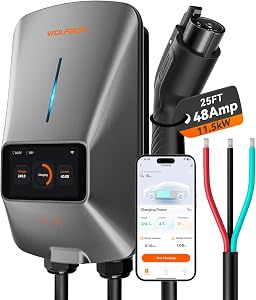
Step 2: Choose Your Charger
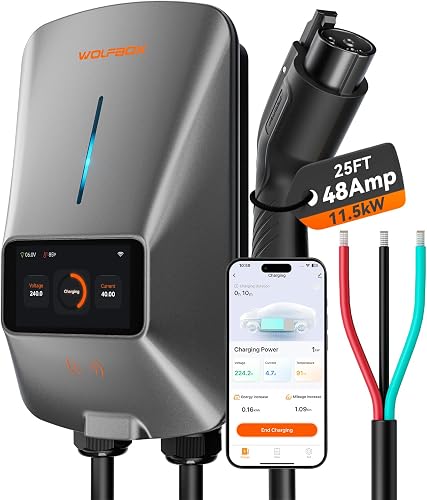
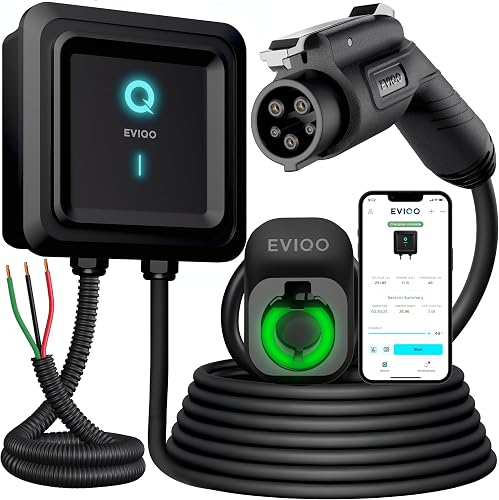
Hardwired (48A on 60A breaker): Faster charge speed, more weatherproof, no receptacle to overheat. Best for long-term homeowners who want maximum power.
Step 3: Pull the Permit
Your city building department will charge between $50 and $250. Skip this step at your peril. An unpermitted EV install can void your homeowners insurance, complicate your home sale, and trigger fines.
Step 4: Run the Circuit
A dedicated 6/3 AWG copper Romex with ground handles most 50-amp installs up to 80 feet. Beyond that, jump up to 4 AWG to manage voltage drop. Conduit is mandatory in unfinished garages and outdoor runs.
Step 5: Mount, Wire, and Test
Mount the unit 48 inches above the garage floor (standard outlet height). Wire it according to manufacturer torque specs (this is non-negotiable, undertorqued lugs are the #1 cause of charger meltdowns), then plug in and test with the EV at a low charge state.

Step 6: Schedule the Inspection
The inspector will check breaker size, wire gauge, conduit, GFCI protection, and grounding. Pass on the first try by photographing every connection before you button up the walls.
The 7 Most Common Mistakes That Cost Real Money
- Buying a cheap receptacle. A $9 Home Depot NEMA 14-50 will overheat in months under continuous EV load. Spend $50 on a Bryant or Hubbell industrial-grade outlet. Period.
- Skipping the load calculation. Your dryer running while the EV charges can trip the main if you ignored the math.
- Running undersized wire. Voltage drop on long runs steals charging speed and generates heat. Always upsize when in doubt.
- Installing GFCI on a hardwired charger. Most modern EV chargers have built-in GFCI; doubling up causes false trips.
- Mounting the charger too low. Garage flooding is real. Keep the unit at least 18 inches off the floor.
- Skipping the permit. Costs $100. Saves $50,000 if there is ever a fire.
- Forgetting about future-proofing. Pull conduit large enough for a second charger if you might add another EV.
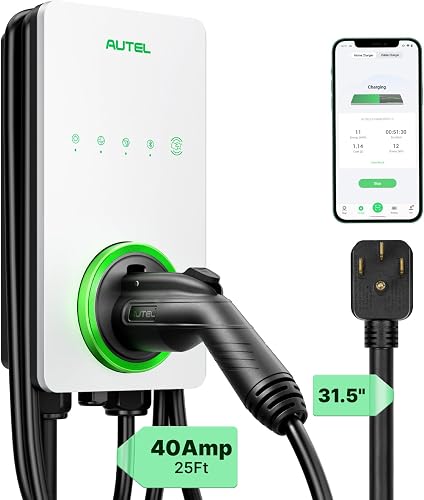
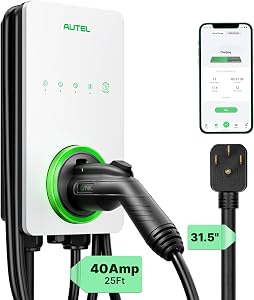
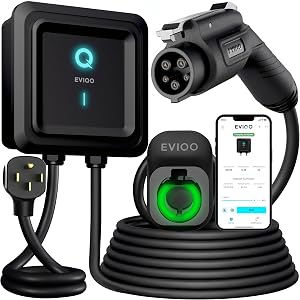
What Charger Should You Actually Buy?
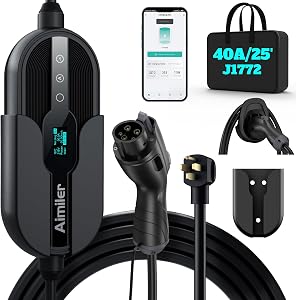
Without naming specific brands (the landscape changes fast), look for these non-negotiables:
- UL-listed for North American safety standards
- 48-amp output for maximum future flexibility
- WiFi-enabled for utility rebate eligibility
- 25-foot cable minimum for parking flexibility
- 3-year warranty or better for peace of mind
- NACS or J1772 compatibility matching your EV
Frequently Asked Questions
A typical install takes 4 to 8 hours of physical work, plus 1 to 3 weeks for permit approval and inspection scheduling.
Can I install a Level 2 charger outdoors?
Absolutely. Most modern units are rated NEMA 4 or better for outdoor weather exposure. Use weatherproof conduit and a hooded receptacle.
Will a Level 2 charger raise my home value?
Zillow data suggests yes, by an average of $1,500 to $3,000 depending on market. EV-ready garages are now a top-10 buyer search filter in California, Texas, and Florida.
Do I need a smart charger?
Not strictly, but smart chargers unlock time-of-use savings (charging at night when rates are 60% lower), utility rebates, and remote diagnostics. The $100 premium pays back in under a year.
The Bottom Line
Level 2 home charging is the single biggest quality-of-life upgrade an EV owner can make. Period. No more dryer-unplugging shuffles, no more range anxiety on cold mornings, no more babying the battery to make it through tomorrow's commute. Just plug in at night and wake up to a full charge every single day.
The $1,500 average install cost sounds steep until you realize it pays itself off in fuel savings within two years and adds real, measurable equity to your home. This is one of the rare home improvement projects that genuinely pays for itself.
Now stop reading and go schedule that load calculation. Your future self will thank you every single morning.
Key Takeaways
- Choosing the right how to install a level 2 EV charger at home means matching capacity and output ports to your actual devices
- Always check actual watt-hours (Wh), not just watts — runtime depends on Wh, not peak output
- Also covers: home EV charger installation cost
- Also covers: 240V outlet for EV charger
- Also covers: NEMA 14-50 EV charger setup
- Compare price-per-Wh across models to find the best value for your budget